How to Design a One-Pager Business Plan Slide in PowerPoint

Creating a visually appealing and informative one-page business plan slide can elevate the impact of your presentation. This guide walks you through the process of designing such a slide in PowerPoint, step by step.
If you’d rather watch a video tutorial, here’s one from our YouTube channel. We have more videos like this on our YouTube channel, so make sure you check them out as well:
Step 1: Setting Up the Base Design
To begin, add a rectangular shape to your slide:
Go to the Insert tab, click Shapes, and choose a rectangle.
Draw the shape across the slide.
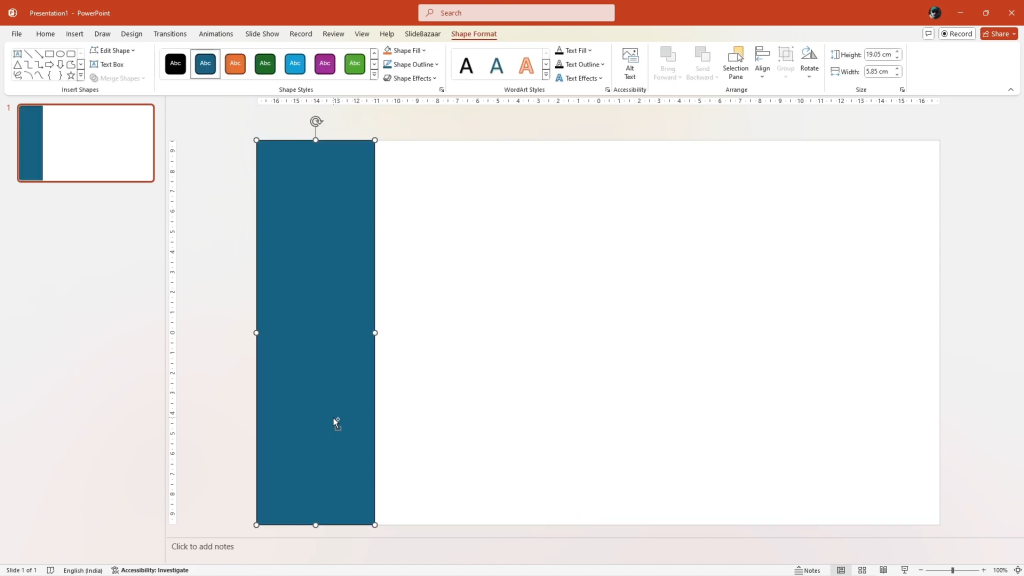
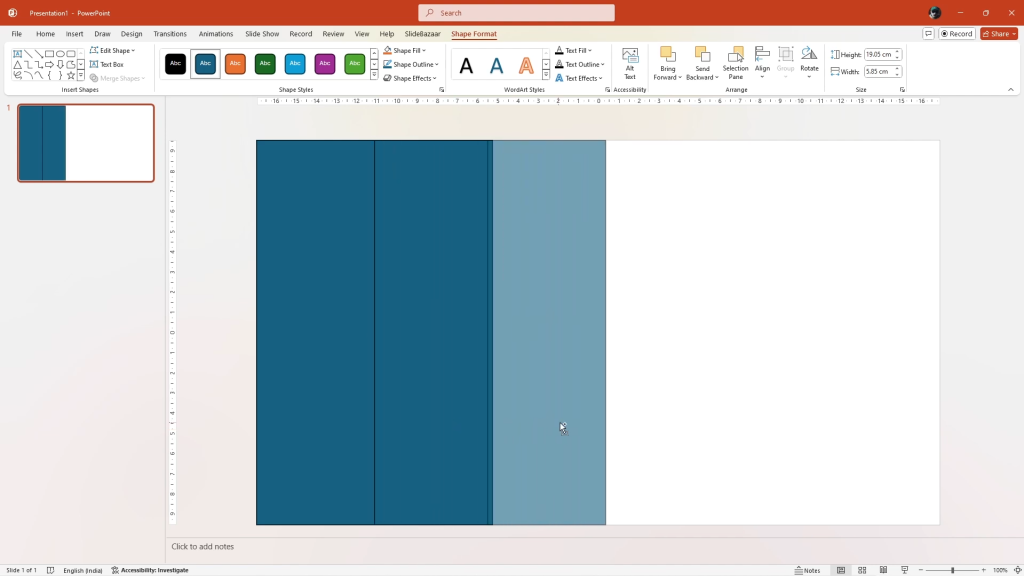
Press Ctrl and drag the rectangle to create two duplicates. Place them side by side.
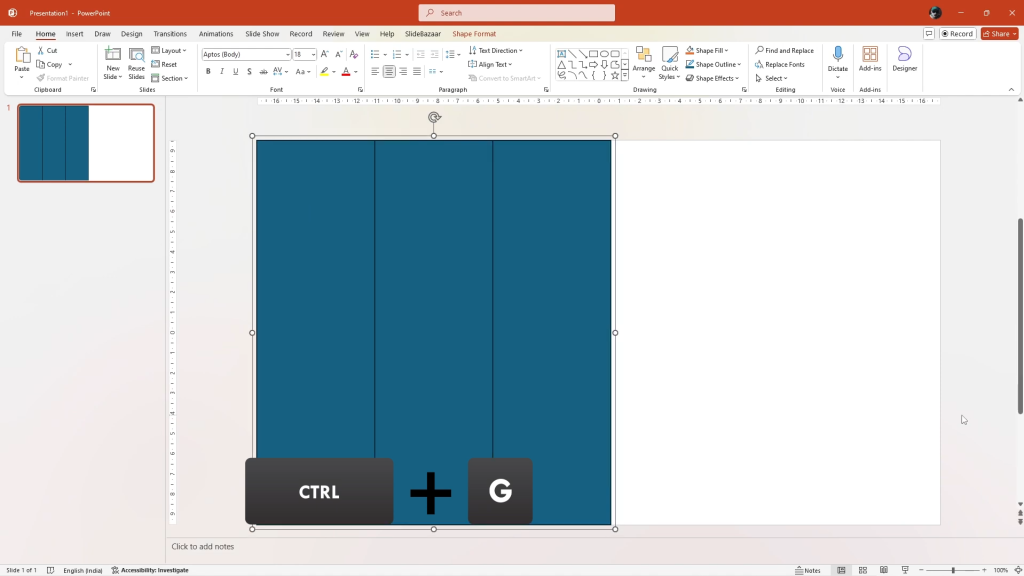
Select all three rectangles and group them by pressing Ctrl + G.
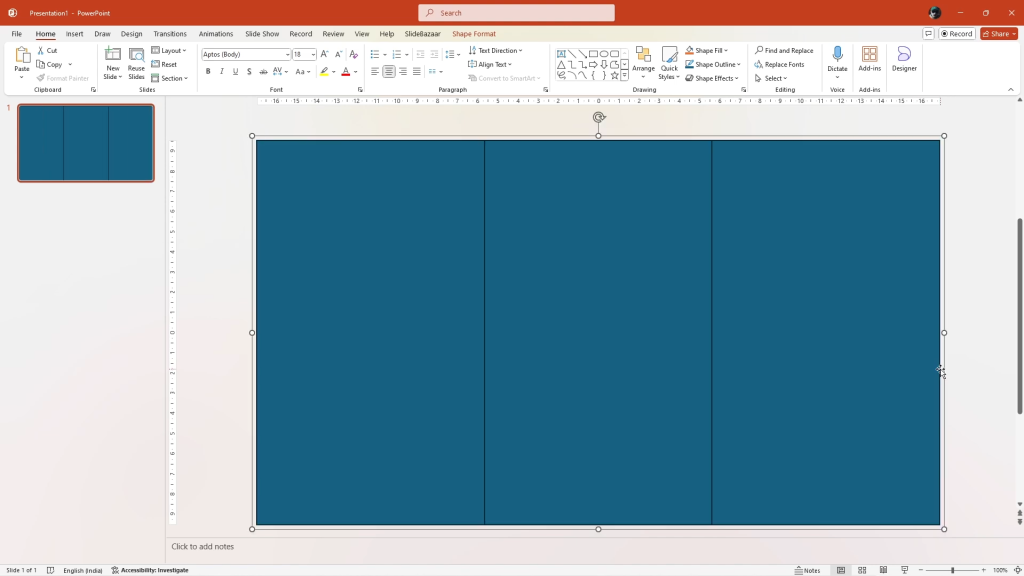
Adjust the width by dragging the handle on the right side until the shapes cover the entire slide.
Step 2: Using Guides for Precise Alignment
Guides are invaluable for maintaining symmetry and balance.
Right-click on the slide, go to Grid and Guides, and enable vertical and horizontal guides.
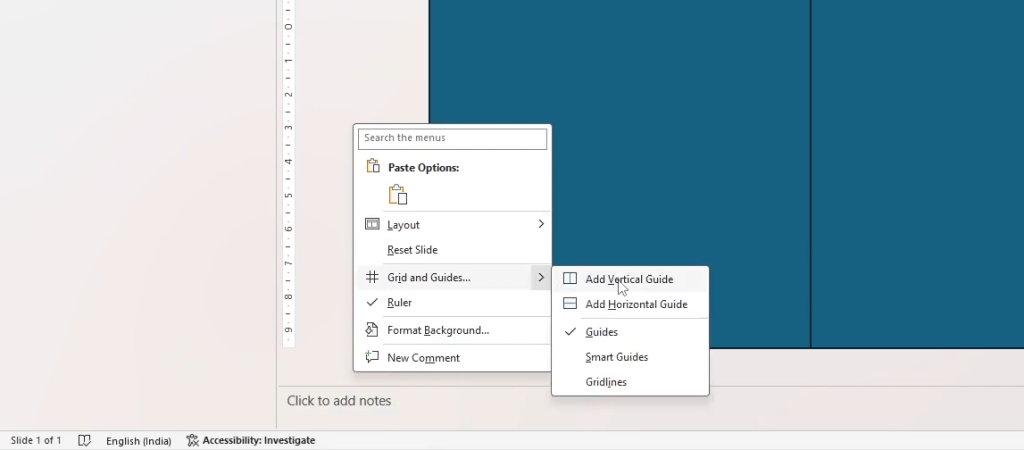
Adjust the vertical guides to align with the edges of the slide.
Hold Ctrl, click, and drag the vertical guide to duplicate it. Place these new guides along the edges of the rectangles and the sides of the slide.
Duplicate additional guides and space them equidistantly using the numbers displayed near your cursor.

Repeat the process for horizontal guides to create proper margins for the design.
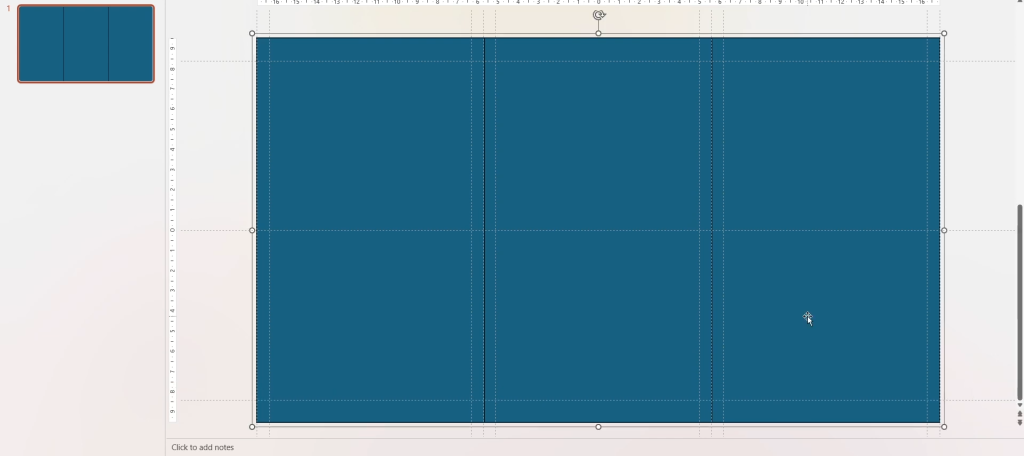
Step 3: Formatting the Shapes
Once the guides are set:
Right-click the grouped shapes and choose Format Object.
Change their color to match your slide’s theme and set the line style to No Line.
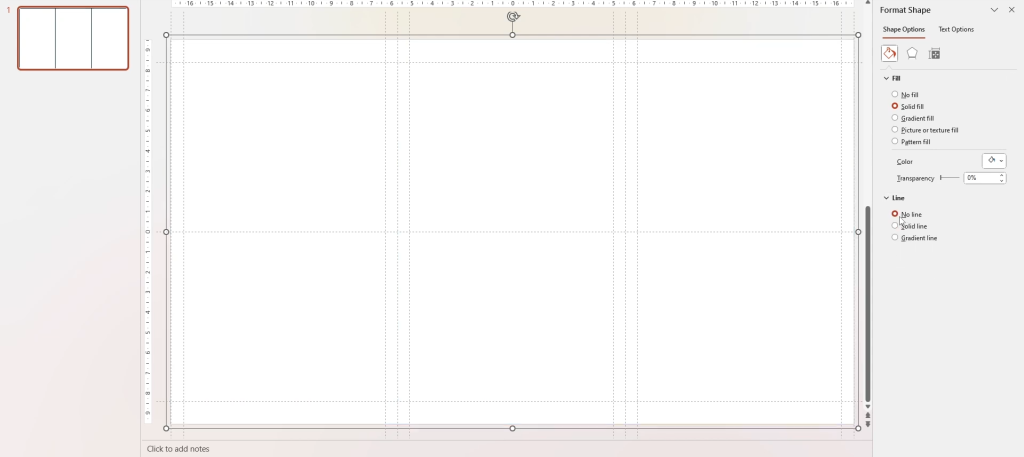
Step 4: Adding Content with Text Boxes
With the margins defined, add text boxes for the main sections of your business plan.
Go to Insert > Text Box and add boxes for sections like:
Company Name
Problem Statement
Solution
Product Overview
Additional Details
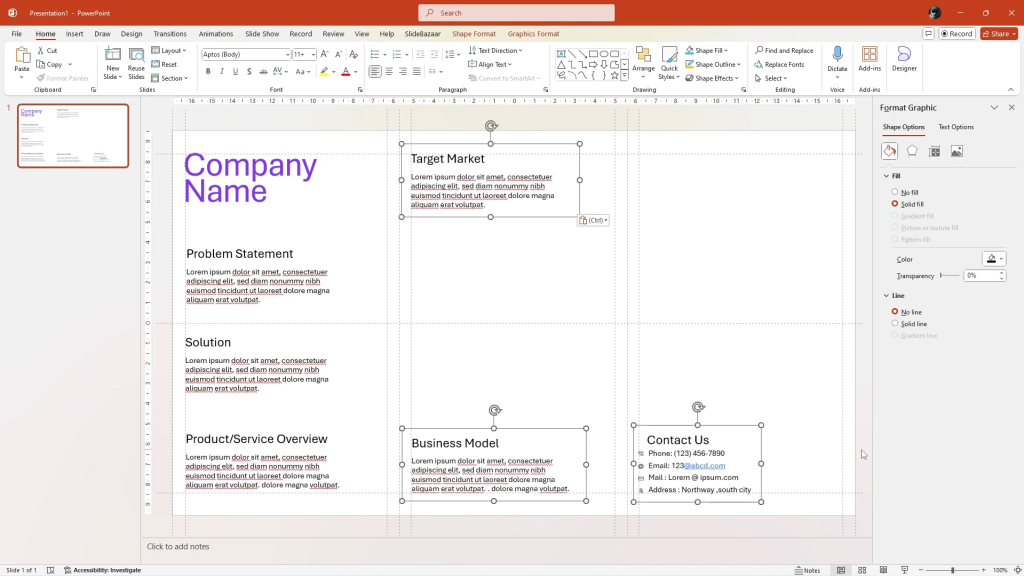
Use the Design tab to experiment with colors and fonts, ensuring the style aligns with your presentation.
Step 5: Including Charts and Images
If charts are needed, insert them while maintaining the established margins:
Navigate to Insert > Chart, choose the desired type (e.g., map), and resize it to fit within the slide’s layout.
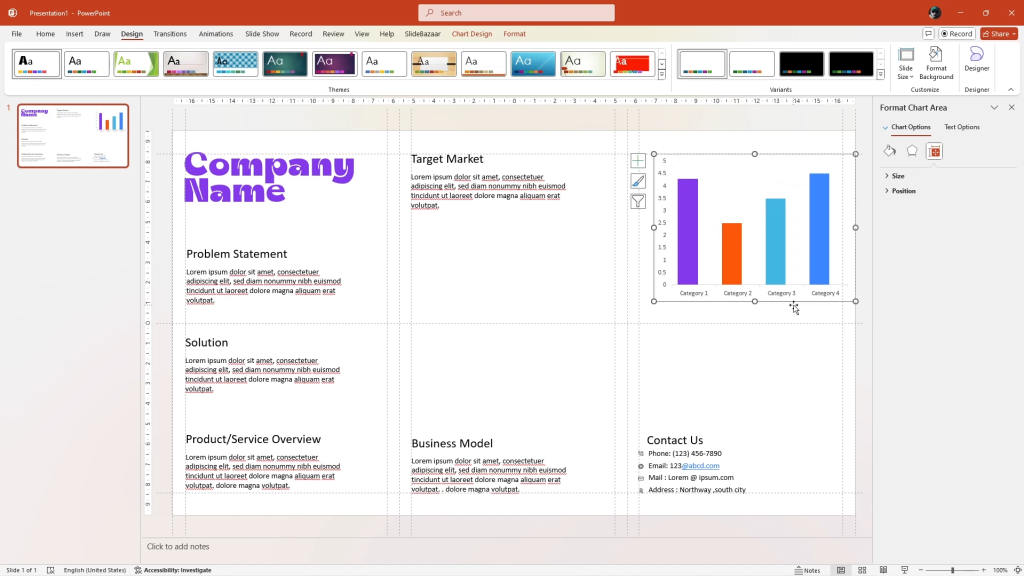
For images, a simple placeholder technique can streamline the process:
Insert and resize a shape on your slide.
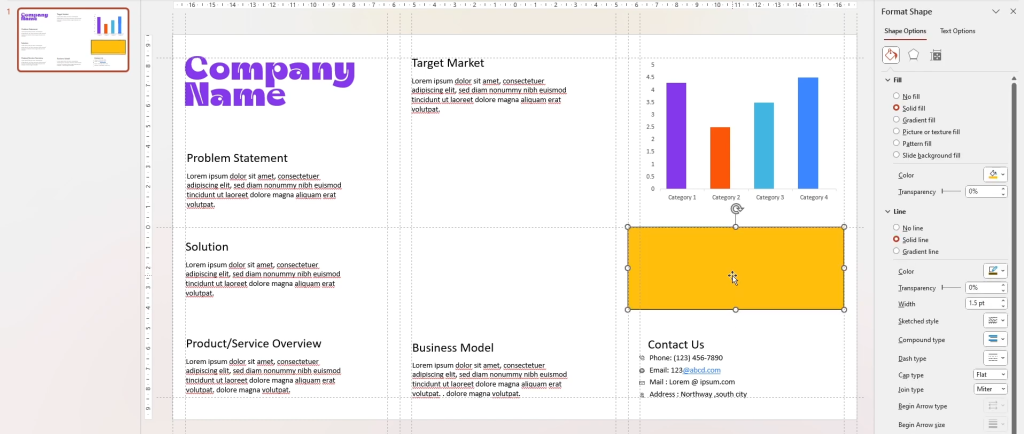
Copy the shape and move to the Slide Master view.
Paste the shape and use Insert Placeholder to add an image placeholder over it.
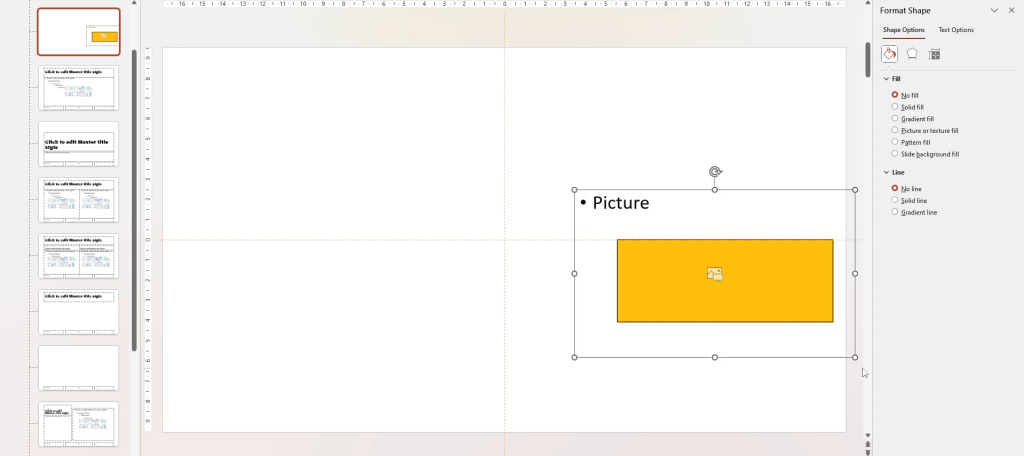
Select both the shape and the placeholder, go to Merge Shapes, and choose Intersect.
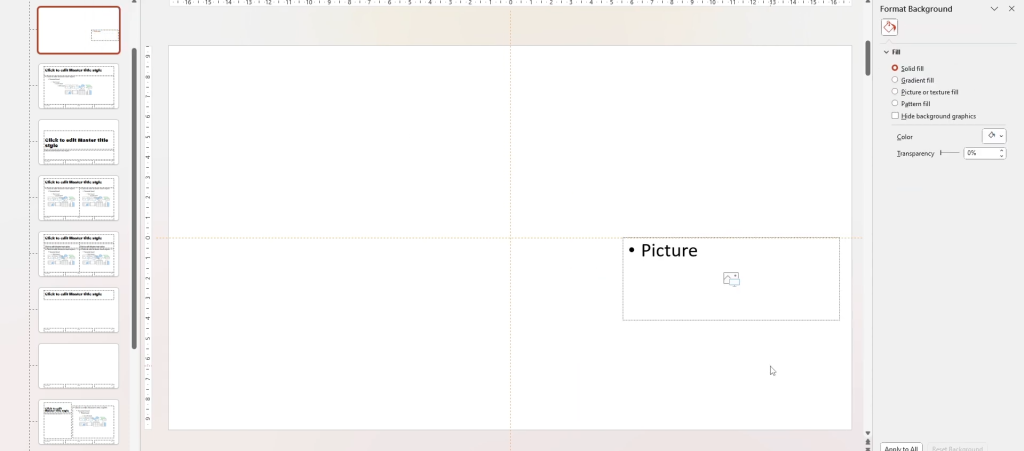
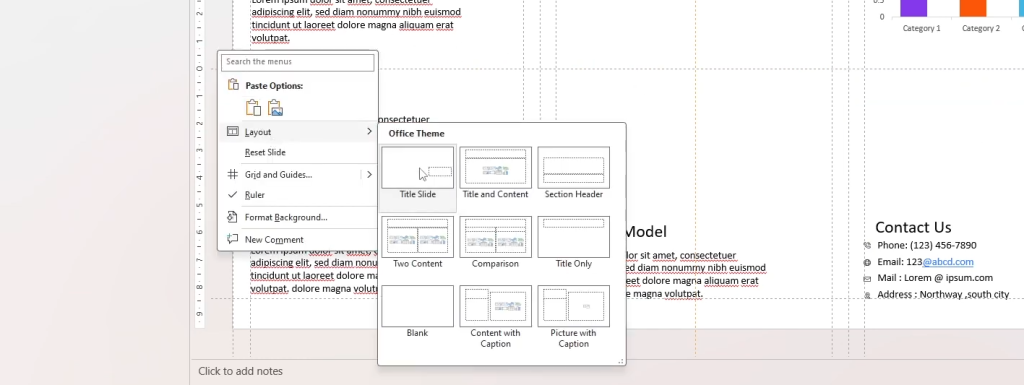
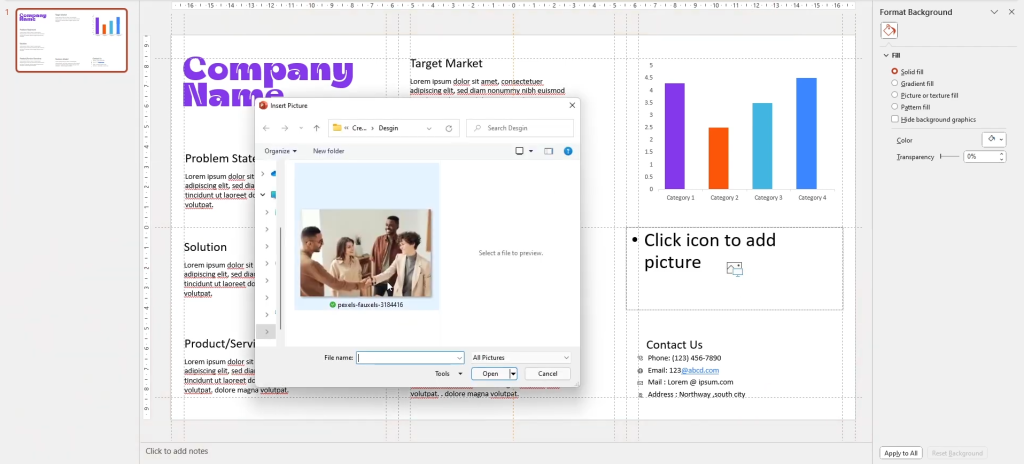
Exit the Slide Master view, return to your slide, and right-click to apply the new layout. Now, you can insert images easily into the placeholders.
Step 6: Final Touches
Add elements like maps, additional images, or icons to enhance the slide’s appearance. Resize and position them thoughtfully to maintain a clean, professional look.
The Result

After following these steps, your one-page business plan slide will be ready, combining clarity, visual appeal, and structured content.
If you’re short on time or prefer an easier alternative, professionally designed PowerPoint templates are available to simplify the process. Check out SlideBazaar.com to know more!


