
Headers and Footers in PowerPoint


If you’ve ever wanted to headers and footers in PowerPoint, and are looking for the best way to do it, you’ve come to the right place. In this article, we’ll explore how you can add headers and footers in PowerPoint, the right way to do it, and how you can save time as well!
Headers and footers are a great way to add essential information consistently to your slides, to improve professionalism and clarity. This could be the company logo, slide number, or any type of useful information that you may want to add. Let’s dive deep into how you can add headers and footers in PowerPoint.
What are Headers and Footers?
Headers and footers are text elements, images, and other objects that appear at the top and bottom of your slides, respectively. They typically contain information that stays the same throughout the presentation. These include:
- Presentation Title
- Author Name or Company Logo
- Slide Number
- Date (Updated Automatically or Fixed)
- Disclaimer or Copyright Notice
- Adding Headers and Footers
How to Add Headers and Footers in PowerPoint:
Here’s how you can add headers and footers in PowerPoint:
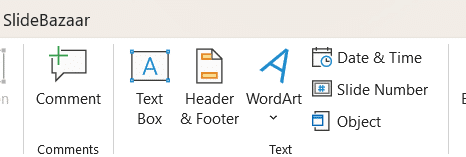
Go to the Insert tab.
Click the Header & Footer button.
The Header and Footer dialog box appears:
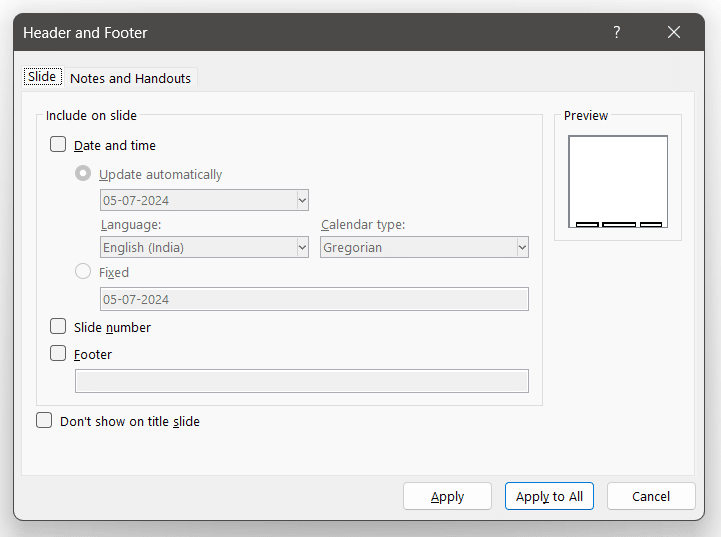
This dialog box can be used to add and customize headers and footers in your PowerPoint slide. Let’s check out some of the options available in the Slide tab.
You can add date and time on your slide here, by simply checking the box. Choose between a fixed, static time or if you want it to update automatically. You can also check the boxes to add slide numbers, and footer text. If you want, you can prevent the footer text from being seen by checking the Don’t show on title slide checkbox.
Once done, click on Apply if you just want to apply it to the slide you’re currently on. Or click on Apply to All to add your changes to the entire presentation.
Notes and Handouts Tab:
The next tab, Notes and Handouts can be used if you want to add header and footer to your handouts. Just like on the previous tab, you can add elements like page number and date and time.
Advanced Customization – Using Slide Master to add Header and Footer
If you’d like more control over customizing headers and footers in PowerPoint, you should use the Slide Master. The Slide Master lets you add elements to your presentation and make it appear on all slides. This is great when you want to add something like a logo, picture or something unique as a header or footer. Let’s learn how to use slide master to add headers and footers:
Go to the View tab and select Slide Master. Scroll up to see the parent slide:
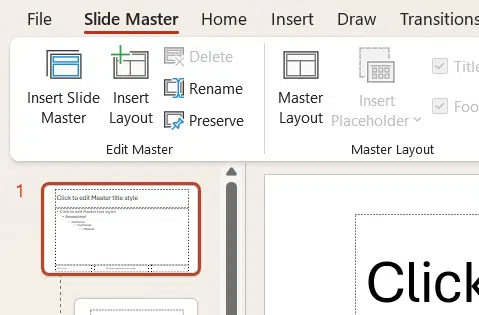
This lets you edit the header and footer placeholders on the main slide layout, affecting all slides that inherit that layout.
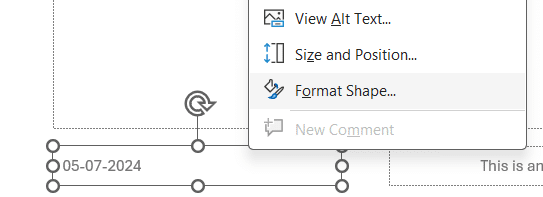
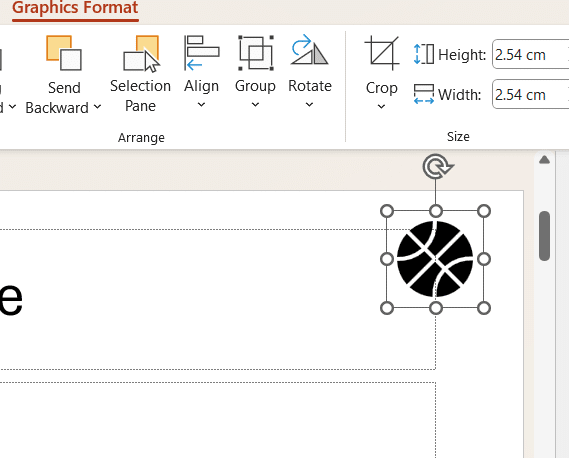
If you want to customize how the existing footer elements look like, right-click a header or footer placeholder and choose Format Shape. You can then customize font styles, colors, and alignment.
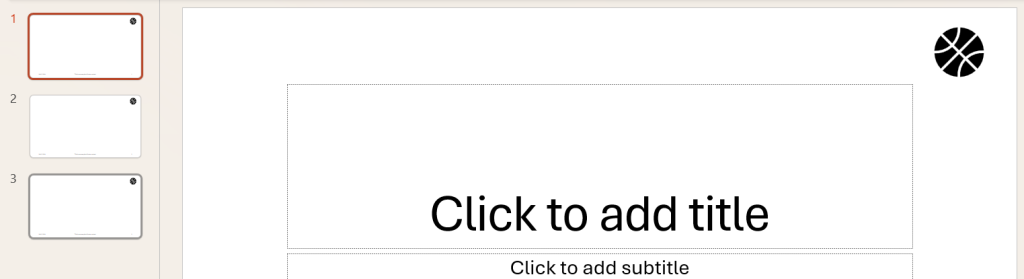
Now if you want to add something else, like a logo, icon or any other element to your slides as header or footer, simply add it to the parent Master Slide:
You can see it appearing on all slides:
For a more detailed article on using slide master to add elements to your slide, check out this article.
Conclusion
Headers and footers are valuable tools in PowerPoint presentations. I hope this article was easy enough to follow. If you work with PowerPoint presentations a lot, check out SlideBazaar for useful presentation themes, templates and other resources!
Related Articles
-
 May 21st, 2024
How to Print Your PowerPoint Slides – Things to Keep in Mind
Blog Post -
 August 9th, 2021
75+ Best Illustrated PowerPoint Templates
Blog Post -
 April 25th, 2024
Discover Expert Tips for Crafting Powerful Business Presentations
Blog Post