How to Create Pyramid Diagrams in PowerPoint

Creating effective visuals is crucial for delivering professional, impactful presentations, and a pyramid diagram is one of the best tools to display hierarchical or foundational concepts. In this guide, we’ll walk you through the steps to create a clean, customizable pyramid diagram in PowerPoint that will improve your presentations.
But if you’d rather watch a video to learn how to create pyramid diagrams in PowerPoint, check out this video from our YouTube channel. There are plenty of videos like this on the channel, so if you’re interested check out the channel as well:
Alright, let’s move on to the rest of the article, here are the steps you need to follow:
Step-by-Step Guide to Creating a Pyramid Diagram in PowerPoint
Here’s an easy way to create a pyramid diagram in PowerPoint:
Insert a Triangle Shape
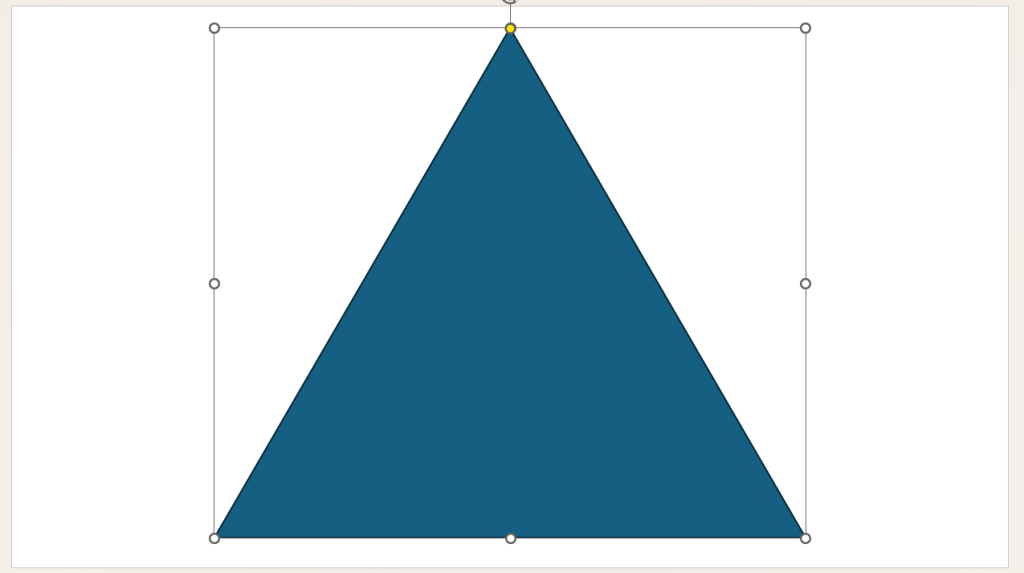
Begin by navigating to Insert > Shapes. Hold down Shift and draw a triangle on your slide. Holding down Shift ensures that the triangle has equal sides.
Add a Rectangle to Divide the Triangle
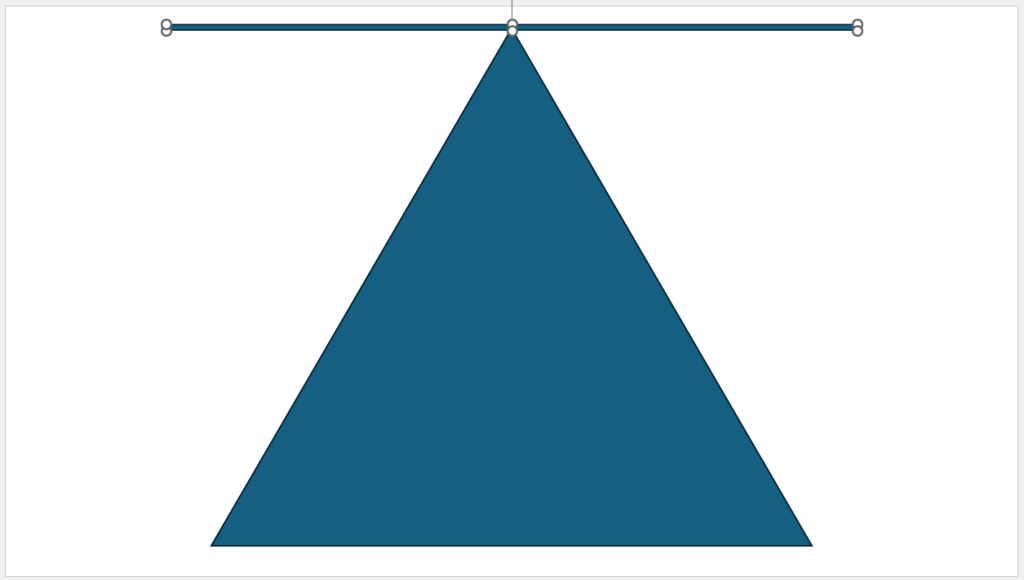
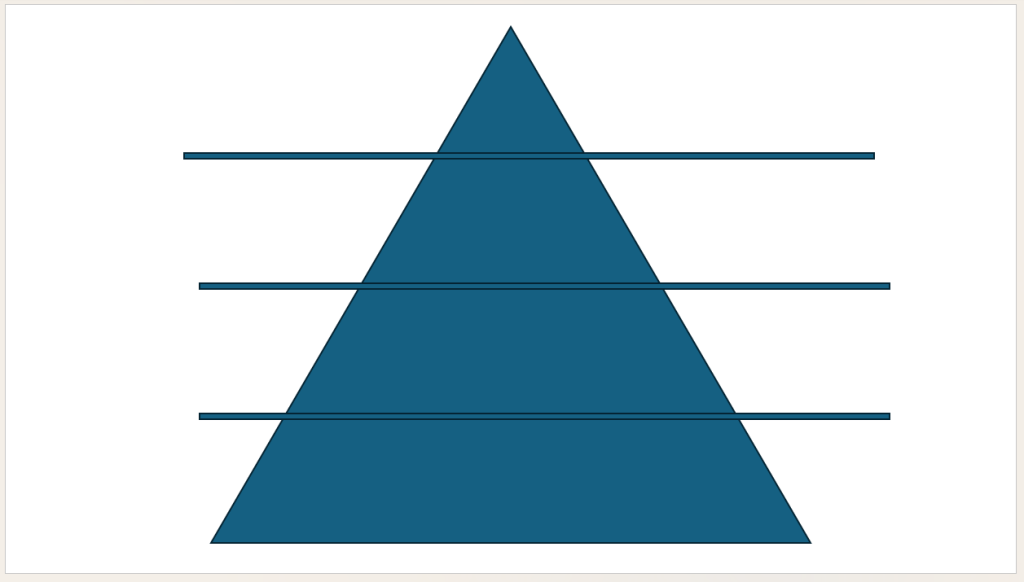
Next, go to Insert > Shapes again, select a rectangle, and draw a thin, long rectangle across the top of the triangle. This will serve as the first dividing line of the pyramid. Position the line precisely at the top of the triangle.
Duplicate and Align the Dividing Lines
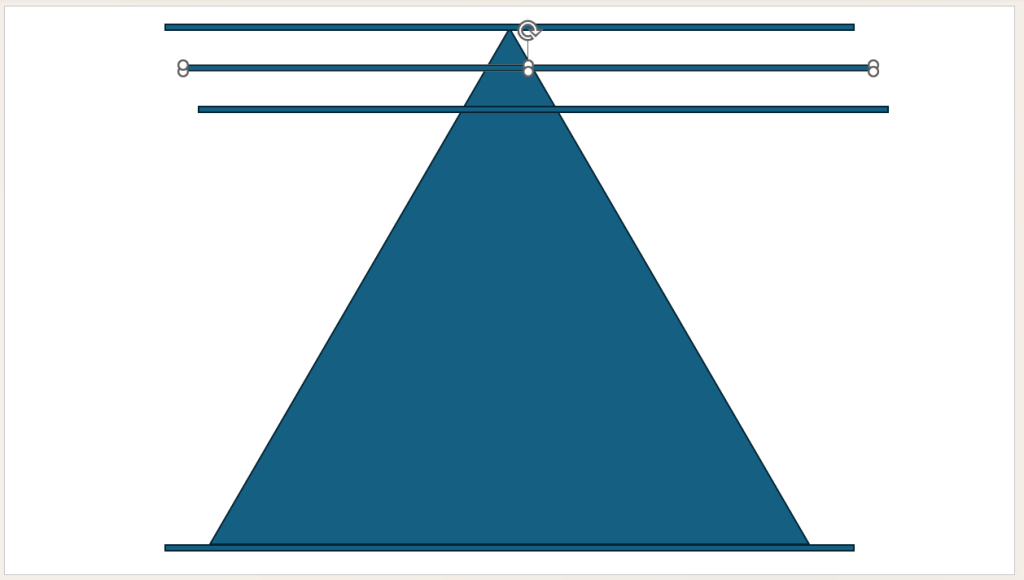
Duplicate the line by selecting it and pressing Ctrl + D. Place the duplicated lines at equal intervals along the triangle to divide it into sections. Position the final line at the very base of the triangle.
Distribute the Lines Vertically
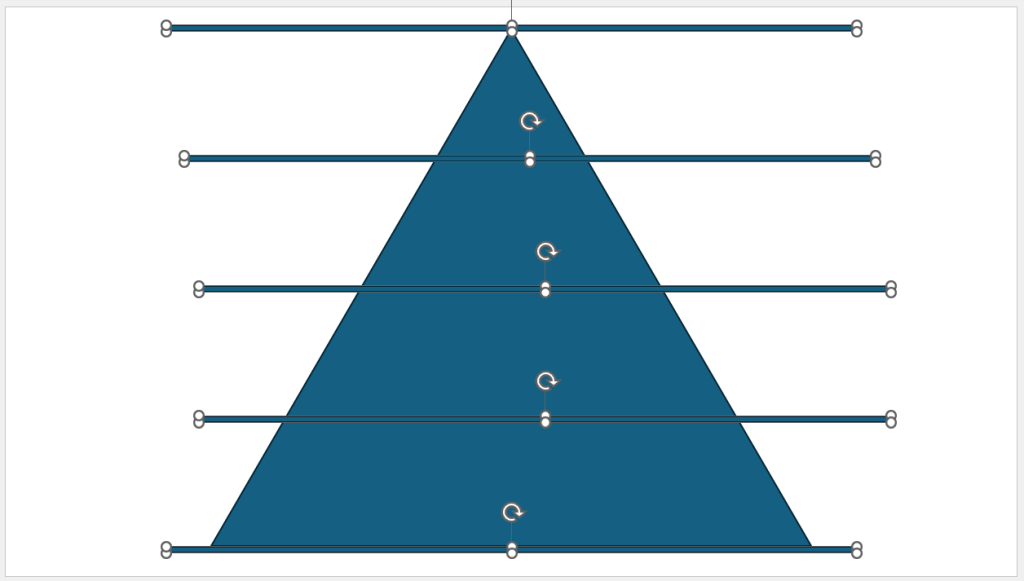
Once all lines are positioned, select them all, go to Shape Format > Align, and choose Distribute Vertically to ensure they are evenly spaced. Then, delete the top and bottom lines, as they aren’t needed.
Fragment the Triangle into Sections
Select the triangle and all the remaining lines. Go to Shape Format > Merge Shapes and choose Fragment. This will cut the triangle into sections based on the lines, forming equal layers.
Delete Extra Lines and Customize the Pyramid
After fragmenting, delete any unnecessary lines or fragments between sections. You can now modify each section of the pyramid individually to suit your presentation.
Finalize with Colors and Text
Add colors, labels, and any other details to each section of your pyramid to complete a simple, professional-looking pyramid diagram.
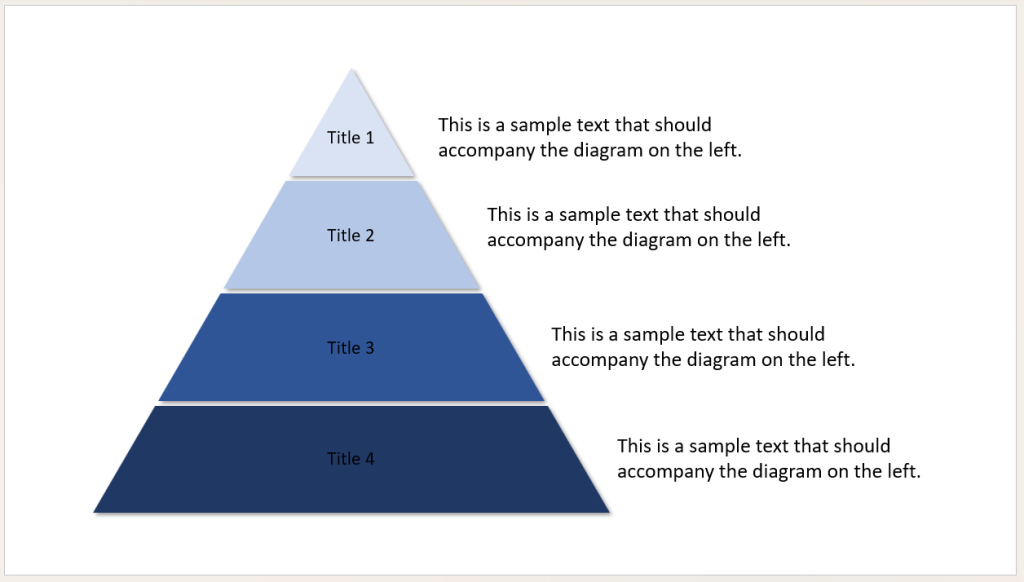
Tip: For a pyramid with more levels, simply add more dividing lines before fragmenting the triangle.
For more visually impressive pyramid diagrams, SlideBazaar’s PowerPoint templates offer a variety of creative options that can make a strong impact. Check out SlideBazaar’s pyramid templates here.
Wrap-Up
Creating a pyramid diagram in PowerPoint is simple, especially with a structured approach like the one above. With just a few shapes and tools, you can build a customizable, visually clear pyramid that makes it easy to convey complex, layered information. Remember, effective visuals are key to engaging your audience, so consider using high-quality templates when you need to create an exceptional presentation. If you found this guide helpful, don’t forget to explore SlideBazaar’s free PowerPoint add-in to get templates right inside PowerPoint, and subscribe to our YouTube channel for more tips on mastering PowerPoint.


![How to Create a Business Case Presentation [Templates and Examples]](https://slidebazaar.com/blog/wp-content/uploads/2023/03/How-to-Create-a-Business-Case-Presentation-Templates-and-Examples.jpg)