How to Create a Brochure in PowerPoint

Welcome to this guide on creating a brochure slide in PowerPoint. Many people don’t know this, but PowerPoint can be used to design just about anything. From social media posts, content calendars, YouTube intro videos, to even games! So if you’re planning on designing a brochure, you don’t have to look for any other tool, you can just use PowerPoint instead.
If you prefer watching a video version of this guide, check out our YouTube channel for a full walkthrough on designing a brochure in PowerPoint. You’ll also find other helpful tutorials there.
For those who prefer reading, here’s a step-by-step guide on creating a brochure in PowerPoint.
To start creating a brochure, first, add a rectangular shape to your slide from the Insert menu.

Duplicate this shape by pressing Ctrl and dragging it, then align three rectangles side by side.
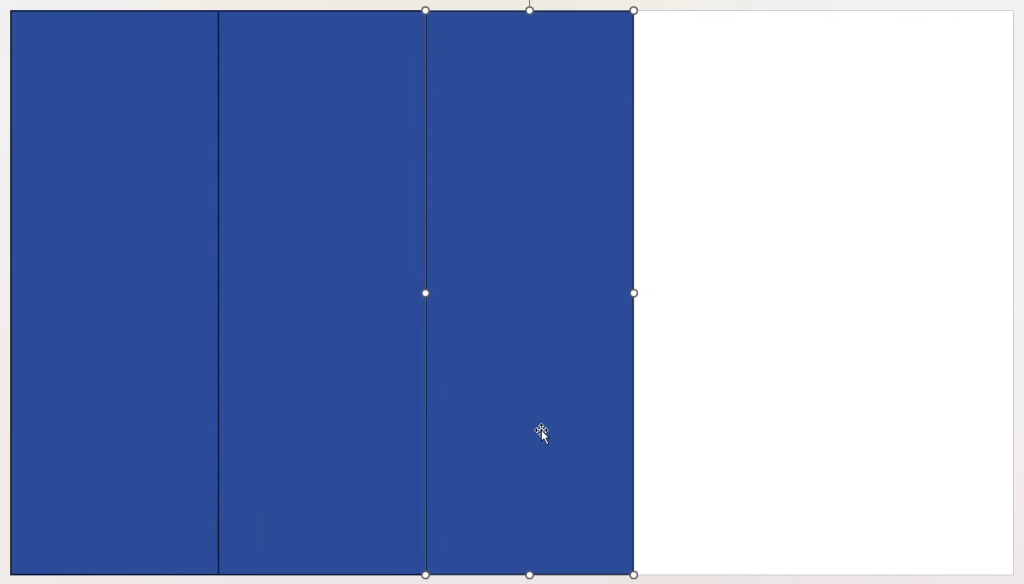
Group them by selecting them all (Ctrl + A) and pressing Ctrl + G.
Extend the grouped shapes to cover the slide, then ungroup them (Ctrl + Shift + G).
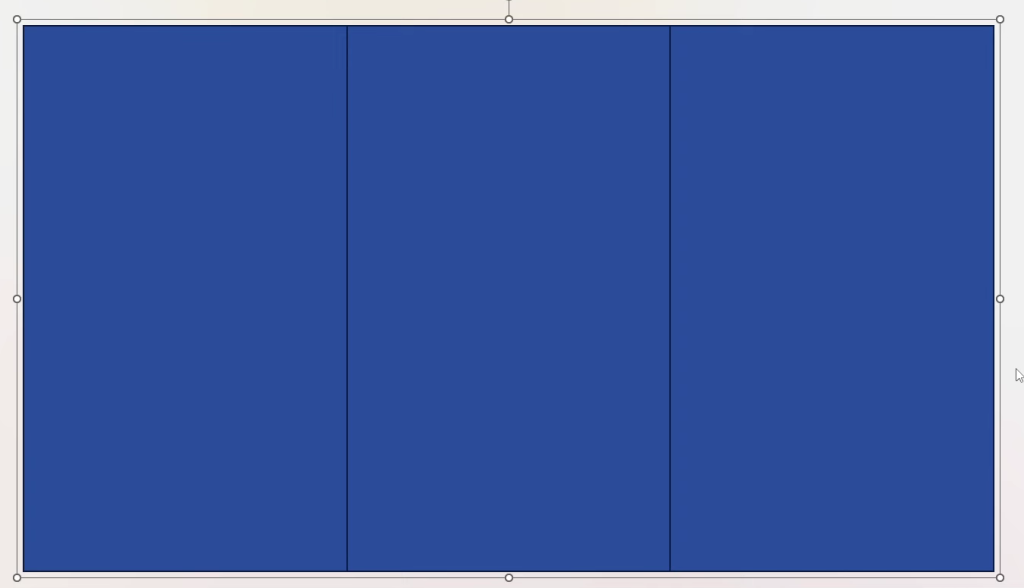
Now right-click on the slide, and click on Grid and Guides… and then turn on the Guides on your slide.

Using guides, align vertical and horizontal lines to create margins for your design. For added structure, place two guides on the left and right sides of the middle vertical lines.
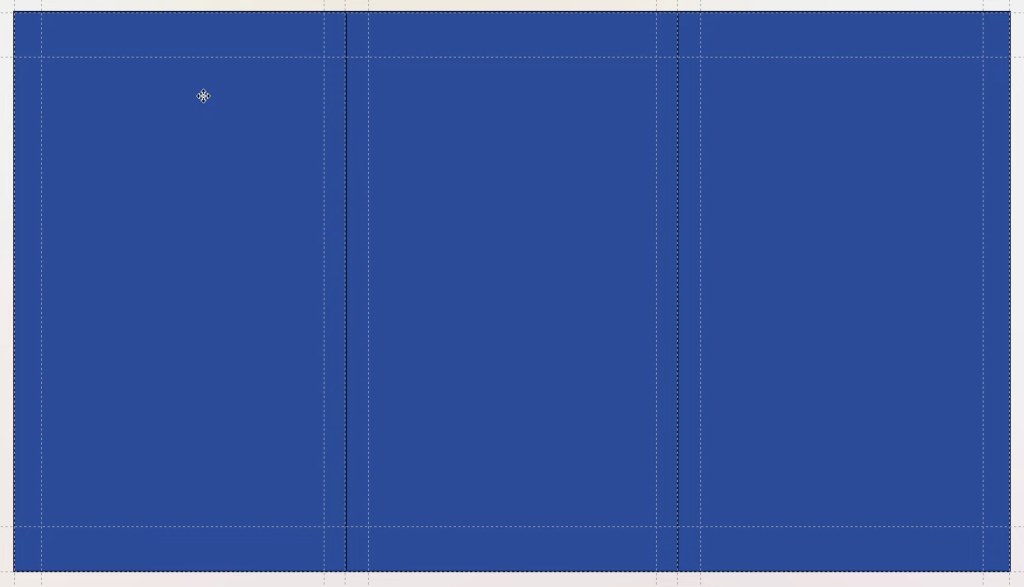
Once done, format the shapes by right-clicking and setting the color and outline. Duplicate the slide (Ctrl + D) to create the second page of the brochure.
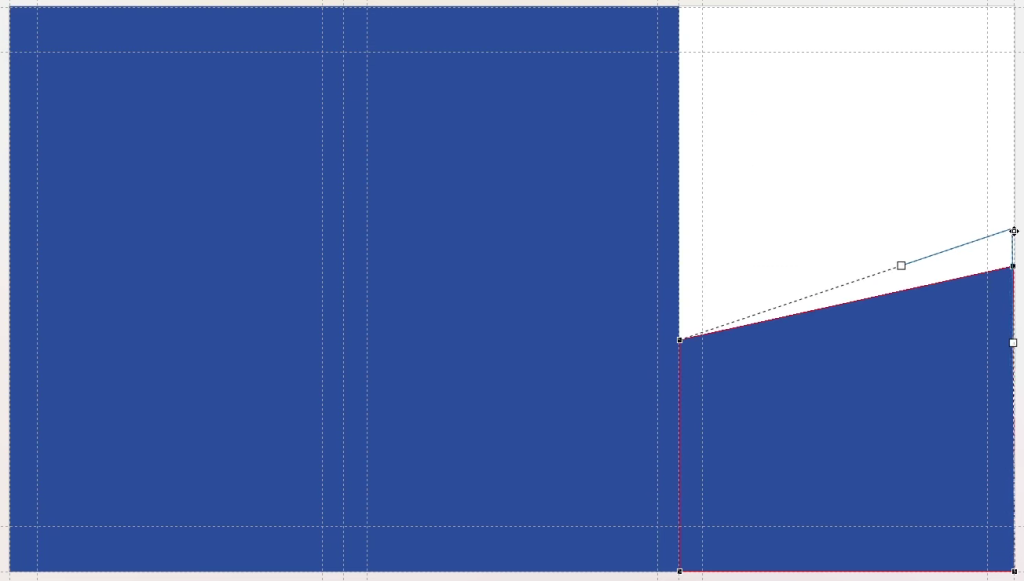
On the first slide, right-click the right shape and choose Edit Points…

… to manipulate its corners, creating a fold effect.
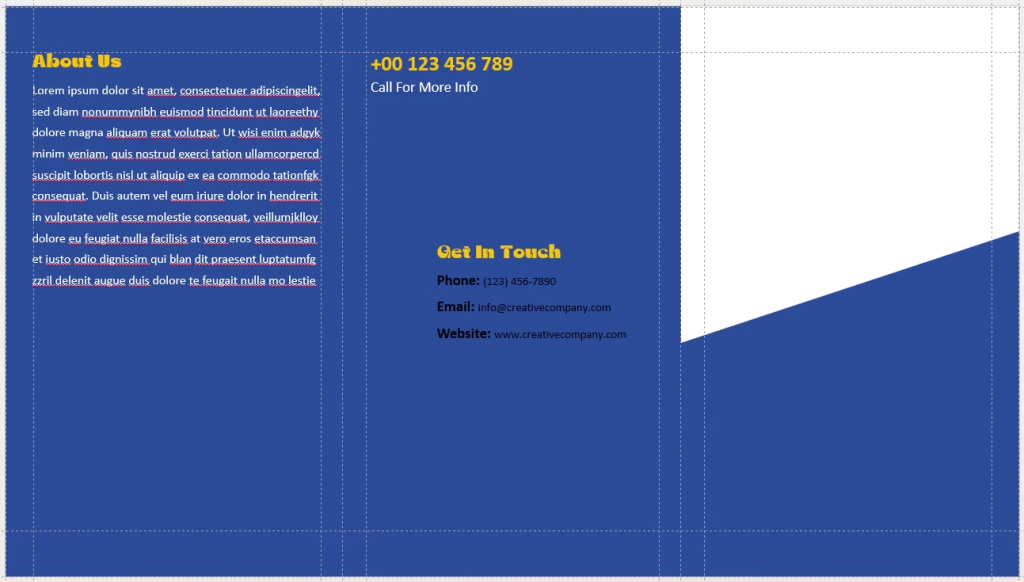
Afterward, carefully add text, ensuring it doesn’t overlap with margins, and choose font colors that contrast with the background.
Add brand logos, images, and position them using the guides.

For an added design touch, insert a shape, add a picture to it, and apply a shadow effect under Format Picture, adjusting transparency, color, and blur to get the desired look.

To create a page-fold effect, draw a rectangular shape over the middle margins of the brochure slide:
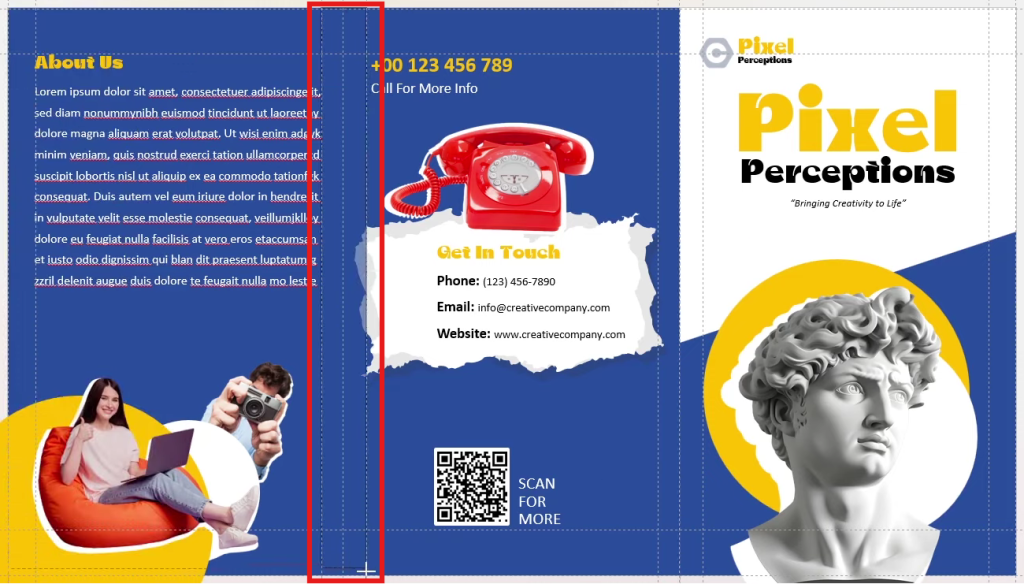
Then right-click the shape, go to Format Shape, and apply No line. Under Fill, select Gradient fill, and choose type as Linear, and Direction as Linear Left.

And adjust gradient stops to create a shadow effect. Increase transparency on the far-left and right gradients to blend with the slide background.

With that, your brochure will take on a polished, professional look. This is what the final brochure will look like:

When you’re ready, print by pressing Ctrl + P, or save as a PDF by selecting “Microsoft Print to PDF.”
And there you have it—a quick tutorial on crafting a brochure in PowerPoint! I hope this article was easy to follow. If you get stuck at any point, I highly recommend you to check out our video on it, linked above. That’s all for now, happy presenting!

