
How to Create Parallax Scrolling Slides in PPT


If you’ve ever wanted to create a parallax effect slide in PowerPoint, you’ve come to the right place. In this article, we’ll explore some ways to create a parallax animation in your PowerPoint slides. I’ll talk about 2 different methods that you can use this, completely using features that are available in PowerPoint, without the use of external tools.
If you want a quick video tutorial, check out this video from our YouTube channel:
What are parallax slides?
Parallax slides are slides that have 2 or more elements, one in the background, and others on top of it, all moving in different speeds in the same or different directions. This gives the slide a 3-D feel, that is definitely going to catch the eyes of your audience. This type of effect was really popular in web-design at one point, and could be seen in many websites. Creating this effect in PowerPoint is simple, here’s what you need to do:
How to Create Parallax Scrolling Slides in PowerPoint
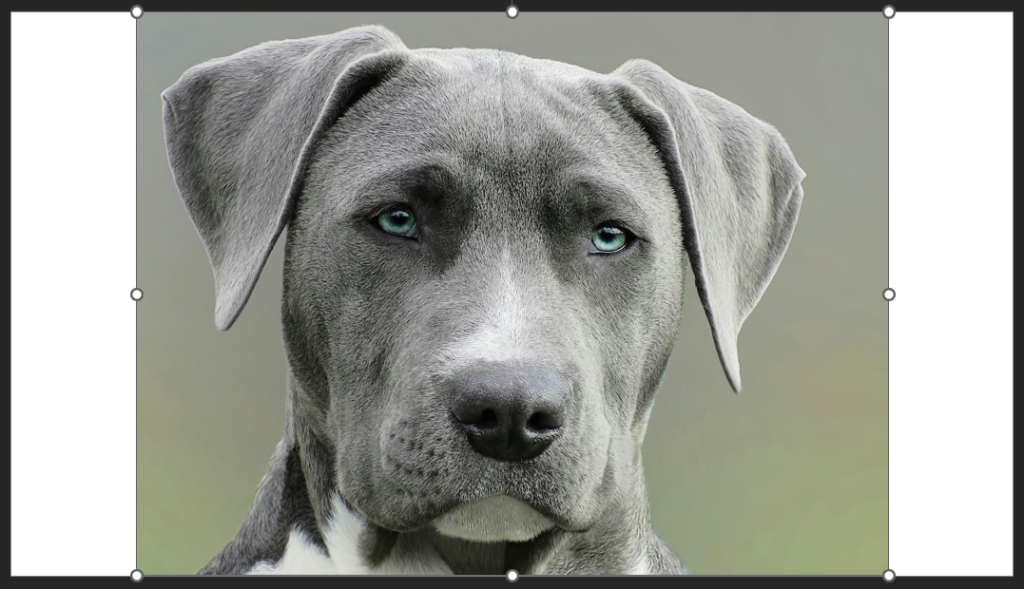
To create parallax slides, you need 2 or more images (or other elements on your slide. Start by adding images to your slides. I’ve added an image here:
Now I’m going to remove the background of this image using PowerPoint’s background removal tool, by going to Picture Format and clicking on Remove Background.

I can use the pen tool to mark the areas I want to keep, to fine tune my background removal process.
After doing this, I will add the image I want as a background, and then expand it completely cover the screen:

Now what I need to do is, add animations to both the images, to create a parallax effect.
To do this, click on each image, and add an animation. I’ve chosen Lines:

You can also change the direction of the animation. I’ve changed both the images, and made them move up:

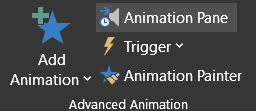
Next, go to Animation Pane:
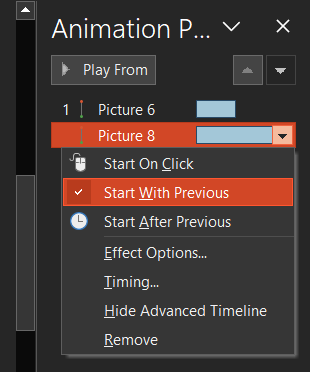
And right click the second animation and select Start With Previous:
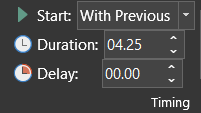
You can also go to Duration, and adjust the values to fine tune the parallax effect:
That’s all, you will get a slide animation that looks like the parallax effect in PowerPoint.
Now if you’ve got a newer version of PowerPoint, you can use the Morph transition to do this, but in an easier way.
After inserting the images, simply duplicate the slide by pressing CTRL+D. Then on the duplicate slide, move the images to the final position you want them to be. After this is done, select both the slides, go to Transitions, and select Morph, and you’re done.
In conclusion, play around with what you’ve learnt here, add your own elements, and create your own versions of the slide I’ve taught you to make here. By following these steps, and understanding the basics, you can easily create parallax effect slides in PowerPoint.
Related Articles
-
 July 7th, 2024
How to Deliver Effective Research Presentations
Blog Post -
 September 12th, 2025
The RACI Framework That Cuts Presentation Review Time From Days to Hours
Blog Post -
 April 16th, 2024
Working with Multiple Images in PowerPoint
Blog Post