
- What Is a Personal Timeline Template?
- What Can I Use a Personal Timeline For?
- Professional Use Cases for a Personal Timeline
- Step 1: Plan Before You Open PowerPoint
- Step 2: Choose the Right Timeline Format
- Step 3: Build Your Timeline in PowerPoint
- Step 4: Use Microsoft Copilot to Accelerate the Process (2026)
- How to Generate a Personal Timeline with Copilot
- Refining the Copilot Output
- Step 5: Add Supporting Visuals
- Step 6: Make Your Timeline Accessible
- Step 7: Export and Share Your Timeline
- Personal Timeline Template Examples
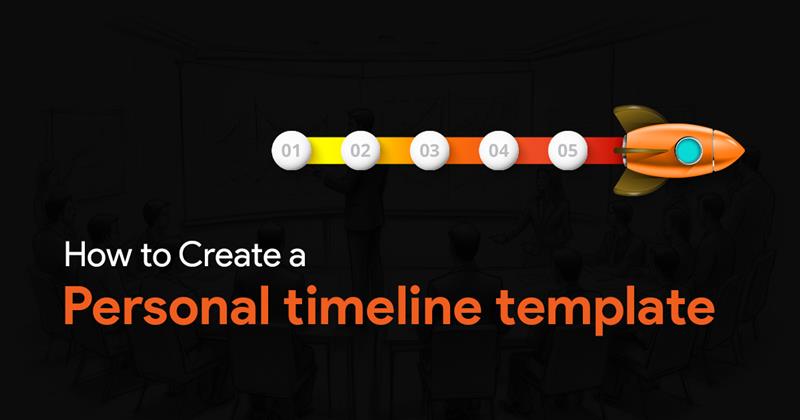
How to Create a Personal timeline template

A personal timeline is one of the most versatile professional tools available in PowerPoint. Used well, it can convey a career journey, a founder story, a professional development plan, or a company history with more clarity and impact than a written biography or a bulleted list of dates ever could.
This guide walks you through everything you need to know about creating a compelling personal timeline in PowerPoint in 2026. It covers what a personal timeline is, the specific professional contexts where it adds the most value, a step-by-step creation process, AI-powered creation using Microsoft Copilot, accessibility best practices, export options, keyboard shortcuts, and a full troubleshooting reference.
PS: If you’re looking for an easy way to create personal timeline in PowerPoint, our collection of PowerPoint timeline templates will help.
What Is a Personal Timeline Template?
A personal timeline template is a thoughtfully designed framework that maps key life events in chronological order. Unlike a simple list, it provides a clear and organized visual that captures milestones, transitions, and achievements.
For businesses, it might showcase the story of career growth, while for individuals, it serves as a reflection of life’s journey. Whatever the purpose, it offers clarity, professionalism, and impact.
What Can I Use a Personal Timeline For?
A personal timeline can serve many unique and valuable purposes:
- Life Overview: Get a visual snapshot of your entire life, helping you recognize important phases and transitions along your journey.
- Mindful Growth: Track how you’ve evolved over time—mentally, emotionally, and spiritually—and how each experience contributed to your personal growth.
- Memory Preservation: Create a keepsake that captures key moments, helping you preserve memories for yourself or share them with others.
- Personal Branding: Use it as a tool to highlight your personal story or values, whether for a blog, portfolio, or public speaking.
- Decision-Making Tool: Reflect on past choices to guide current decisions, helping you understand how different paths shaped your present.
- Visual Motivation: Seeing your milestones displayed can inspire you to keep progressing and achieving, reminding you of your accomplishments.
Professional Use Cases for a Personal Timeline
Before building your timeline, it is worth identifying exactly what role it will play in your presentation. Different use cases call for different formats, levels of detail, and design approaches.
| Use Case | Recommended Format | Key Content to Include |
| Career portfolio / personal branding | Vertical or horizontal milestone | Job titles, promotions, key achievements |
| Executive bio for a board presentation | Horizontal milestone (compact) | Roles, companies, major contributions |
| Investor pitch: founder story | Vertical timeline with metrics | Founding date, funding rounds, growth stats |
| Employee onboarding journey | Horizontal process timeline | Phases: Hire, Train, Ramp, Independent |
| Professional development plan | Vertical timeline with goals | Skills, certifications, target dates |
| Company founding story | Roadmap or milestone timeline | Key events, pivots, product launches |
The table above is a starting point. In practice, your specific audience will determine how much detail to include and how much visual weight to give each milestone. An investor audience wants quantified outcomes. A hiring manager wants progression and scope. A team being onboarded wants clarity and simplicity.
Step 1: Plan Before You Open PowerPoint
The most common mistake when building a personal timeline is opening PowerPoint before the content is fully thought through. Time spent planning the content upfront prevents time wasted rearranging and rebuilding slides later.
Identify the Core Narrative
Every strong personal timeline has a through-line: a central story the audience should walk away understanding. Before listing any dates or events, write one sentence that summarizes what this timeline is meant to communicate.
Some examples:
- ‘This timeline shows how my engineering background informed my transition into product leadership.’
- ‘This timeline demonstrates consistent growth in revenue responsibility across three industries.’
- ‘This timeline illustrates the key decisions that shaped our company from a two-person startup to a 200-person organization.’
Every milestone you include should connect back to that sentence. Events that do not serve the narrative should be left out, regardless of how significant they feel personally.
Gather and Filter Your Events
Write down all potential milestones in a separate document first. Include dates, event names, and one line describing the significance of each. Then review the list critically and select only the events that serve your narrative.
As a practical guideline, aim for five to eight milestones on a single timeline slide. Fewer than five can make the timeline feel sparse. More than eight tends to compress the design and reduce readability, especially on projected screens.
| Pro Tip: Group closely spaced events where possible. If you received two promotions within the same year, consider presenting them as a single milestone (‘Promoted twice within 12 months, from Analyst to Senior Manager’) to avoid crowding the timeline. |
Step 2: Choose the Right Timeline Format
The layout of your timeline affects how the information is perceived. Three formats are most commonly used for personal and professional timelines in PowerPoint.
Horizontal Timeline
A horizontal timeline reads left to right, which aligns with the natural way most audiences process chronological information. It works best when your milestones span a wide time range and when you want to emphasize progression and momentum. This format is the strongest choice for career summaries, founder stories, and company histories.
Vertical Timeline
A vertical timeline reads top to bottom. It gives each milestone more visual space and is particularly effective when each event has a meaningful description or a supporting metric. Investor pitch decks and executive bios often benefit from this format because it invites closer reading than a horizontal layout does.
Roadmap or Phase-Based Timeline
A roadmap timeline organizes events into named phases rather than strict dates. This format is most appropriate for professional development plans, onboarding journeys, and future-facing timelines where the exact dates are secondary to the structure of the journey itself.
Step 3: Build Your Timeline in PowerPoint
Once you have planned your content and chosen your format, you are ready to build. The three main methods for creating a personal timeline in PowerPoint are SmartArt, shapes, and templates.
Check out this detailed blog post on creating a timeline in PowerPoint.
Step 4: Use Microsoft Copilot to Accelerate the Process (2026)
For users on Microsoft 365 Business Standard, Business Premium, or Enterprise plans, Microsoft Copilot offers a fast way to generate a first draft of a personal timeline slide from a text prompt. This does not replace your judgment about content and design, but it eliminates the blank-slide problem and gives you a structural starting point in under two minutes.
How to Generate a Personal Timeline with Copilot
Open PowerPoint and click the Copilot button in the Home tab or the right-side panel. Type a prompt that describes the timeline you need. Be as specific as possible about the time span, the number of milestones, and the purpose of the timeline.
Effective prompts for personal timelines include:
- ‘Create a career timeline showing progression from marketing coordinator to CMO over 12 years with six milestones’
- ‘Generate a founder story timeline for a SaaS company from 2018 to present with funding rounds and product launches’
- ‘Build a professional development timeline showing certification goals from 2025 to 2028’
Copilot will generate a slide with a SmartArt or shape-based layout populated with placeholder milestone data. Treat the output as a draft. Review the structure, replace all placeholder content with your real milestones, and then apply your brand colors and preferred design style.
| Note: Copilot generates content based on your prompt and its training data. It does not have access to your personal history. All milestone names, dates, and descriptions will need to be replaced with your actual information. |
Refining the Copilot Output
After replacing placeholder content, review the layout critically. Check that milestone labels are not truncating, that font sizes are legible at a projected scale (18pt minimum for labels), and that the color scheme is consistent. If the generated layout does not suit your needs, use it as a content reference and rebuild the visual using the shapes method or a template.
Step 5: Add Supporting Visuals
A personal timeline for professional contexts can benefit from supporting visuals such as company logos, product screenshots, or headshots at key milestones. Used carefully, these visuals add credibility and help the audience anchor events to recognizable contexts. Used carelessly, they clutter the slide and dilute the narrative.
Guidelines for Adding Visuals
- Use a maximum of one visual per milestone to prevent the slide from becoming visually congested.
- Keep all images the same size and shape (for example, all circular or all rectangular) for a consistent, professional appearance.
- Use PNG format for logos and icons to preserve transparency. Use high-resolution images (150 DPI minimum) to prevent pixelation on projected screens.
- Position visuals consistently: either all above the timeline axis or all below it, never mixed.
| Pro Tip: If adding company logos, right-click the image and select Format Picture, then adjust the transparency slider if the logo is too visually dominant. A transparency of 10 to 20 percent allows logos to support the timeline without competing with the text. |
Step 6: Make Your Timeline Accessible
Accessibility is a professional obligation as much as it is a design consideration. Presentations are shared as files, forwarded to colleagues, submitted to committees, and reviewed by audiences with a range of visual abilities. Building accessibility into your timeline from the start takes only a few additional minutes.
Add Alt Text
Alt text is a written description of a visual element that screen readers use for users with visual impairments. To add alt text to your timeline, right-click the SmartArt graphic or the group of shapes, select Edit Alt Text, and type a clear, specific description of what the timeline communicates.
A well-written alt text example: ‘Horizontal career timeline showing six milestones from 2012 to 2024, progressing from Marketing Coordinator at Agency X to Chief Marketing Officer at Company Y.’
Ensure Sufficient Color Contrast
Do not rely on color alone to communicate meaning. Any distinction that is conveyed through color should also be reinforced by a text label, an icon, or a pattern. Aim for a contrast ratio of at least 4.5:1 between text and its background. PowerPoint’s built-in Accessibility Checker (Review > Check Accessibility) will flag contrast issues automatically.
Maintain Legible Font Sizes
For slides that will be projected, use a minimum of 18pt for milestone labels and 14pt for supporting descriptions. If maintaining these minimums requires reducing the number of milestones, that is the right trade-off. A timeline that cannot be read in the room serves no one.
| Quick Check: Before finalizing your timeline, run the Accessibility Checker under Review > Check Accessibility. Address all errors and review all warnings. This takes fewer than two minutes and can make your presentation usable for a significantly wider audience. |
Step 7: Export and Share Your Timeline
The format you use to share your personal timeline affects how it is perceived, how editable it remains, and how reliably it renders on other devices. Choose your export format based on the purpose of the share.
Export as PDF for Formal Distribution
PDF is the safest format for sharing a timeline when design fidelity matters and editing is not required. To export, go to File > Export > Create PDF/XPS. Select Optimize for: Standard for print-quality output or Minimum Size for digital sharing via email or web. PDFs preserve your fonts, colors, and layouts precisely, regardless of what version of PowerPoint the recipient has installed.
Share as PPTX for Collaborative Editing
When sharing with a colleague or client who may need to make edits, save the file to OneDrive or SharePoint and share a link via File > Share. Set the permission level to ‘Can Edit’ for collaborators or ‘Can View’ for stakeholders who should only review. Sharing a link rather than an attachment ensures that everyone is always working from the most current version.
Embedding in Microsoft Word or Teams
To embed your timeline in a Word report, copy all shapes on the slide (Ctrl + A, then Ctrl + C), switch to Word, and use Paste Special (Ctrl + Alt + V) to paste as a Microsoft PowerPoint Object. This preserves the timeline’s editability within the Word document. For Teams, attach the PPTX to a channel post or a meeting to enable collaborative review directly in the platform.
Personal Timeline Template Examples
1. Medical Infographics PowerPoint Templates
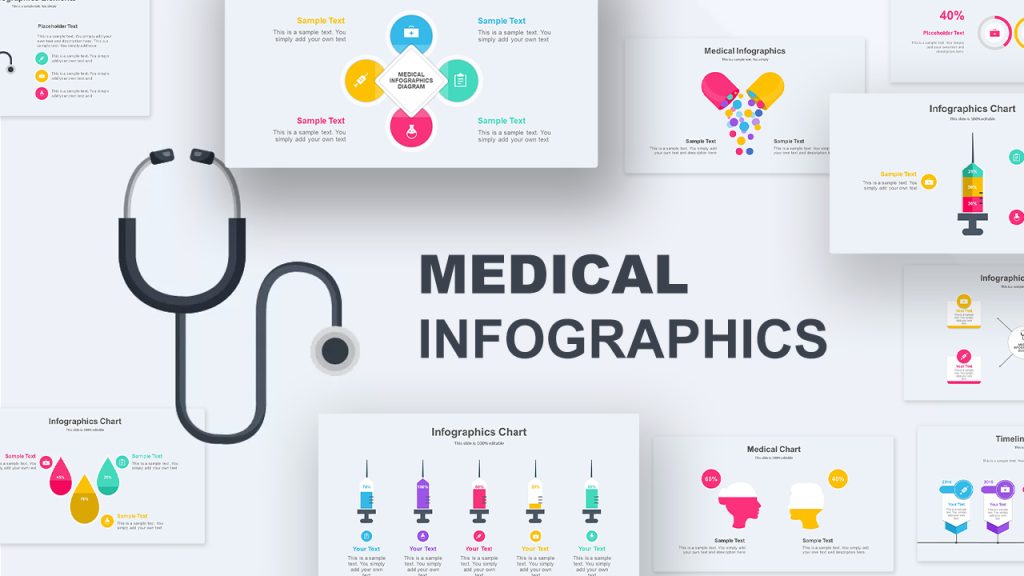
The Medical Infographics PowerPoint Template is a versatile 20-slide deck designed for healthcare presentations. It features industry-specific visuals, including timelines, data charts, and diagrams, showcasing health statistics, research insights, and hospital services. The timeline diagram highlights critical lifeline events, offering a professional and customizable solution for impactful presentations.
2. Finance Pitch Deck Prezi Style PowerPoint Template
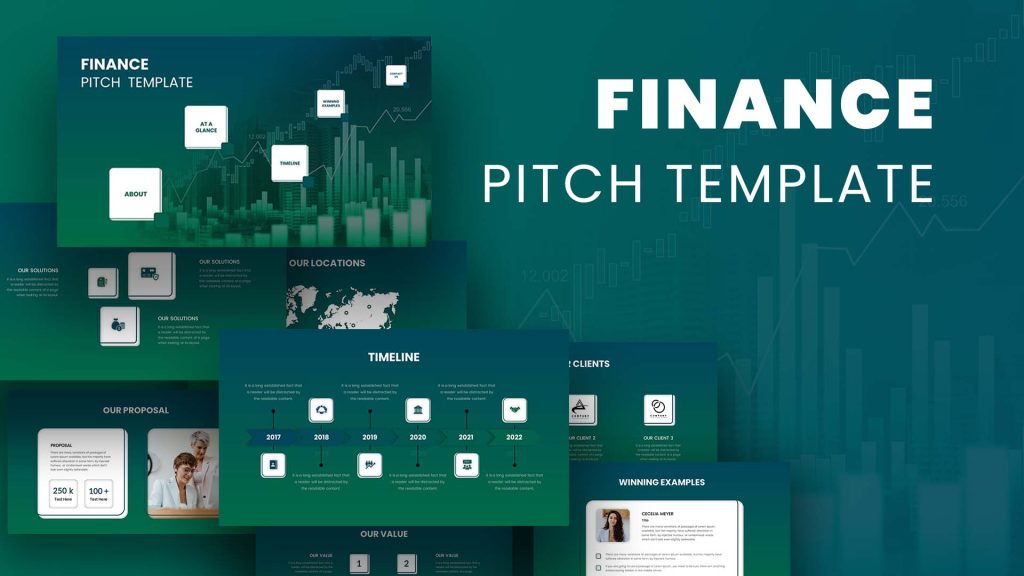
The Finance Pitch Deck Prezi Style Presentation Template is a business pitch deck that offers financial slides for the business sector. The professional PowerPoint background and images support a finance pitch with company overview features. In addition, it has background images and diagrams that support the company profile presentation. For example, an about slide can be used to introduce your company values and solutions to your clients. This PowerPoint business pitch deck contains 28 slides in dark and light background modes. It is suitable for finance enterprises, finance management companies, asset management companies, and stock broking houses to provide a brief description of their company.
3. Calendar Timeline PowerPoint Template
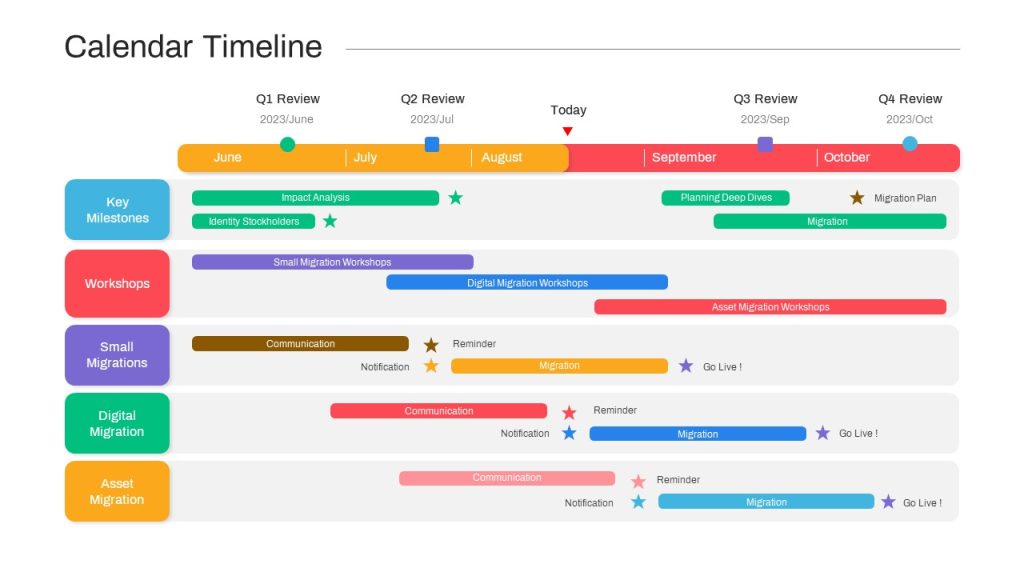
You can hold high your project management and presentation game with the PowerPoint Calendar Timeline Template Swimlanes. This PowerPoint helps you effortlessly create detailed and visually stunning timeline presentations. This is perfect for organizing tasks, and tracking your milestones, and also ensures clear communication among team members. The swimlane layout offers a structured way to display activities across multiple projects or departments.
Start Your Journey Today
With our professionally designed timeline templates for PowerPoint and google slides, you can create visually stunning and strategic timelines effortlessly. Whether for personal growth or professional presentations, our templates ensure your story is showcased with clarity and impact. Explore our collection today to find the perfect timeline template for your needs!
Related Articles
-
 April 10th, 2024
40+ Organizational Chart Examples for Company Hierarchy Presentation
Blog Post -
 November 6th, 2025
Localize Presentations for Global Teams Without Breaking Your Layouts
Blog Post -
 September 28th, 2022
Project Management Timeline – A Guide
Blog Post