
How to Add New File Location in PowerPoint

You already know that in PowerPoint 365 for Windows, you can open and save files from any location on your computer or network. However, did you know you can add even more file location places to access your files? Both the Open and Save As tabs provide options to add new file locations in PowerPoint. These options make it super easy to keep all your important files organized and accessible!
How to Add New File Location Places in PowerPoint 365
By default, your OneDrive location is available as a place if you’re signed in to your Microsoft Account. But you can add more places to enhance your workflow. In this article I will guide you through expanding your file-saving options by adding new locations in PowerPoint.
Step-by-Step Guide to Adding a New Place:
Ensure You Are Signed In:
First, make sure you are signed in to your Microsoft Account. If you have multiple Microsoft Accounts, sign in to the one you wish to use for the default OneDrive location.
Access the Open Tab:
Go to the Open tab of the Backstage view (by clicking File) and click the Add a Place option.

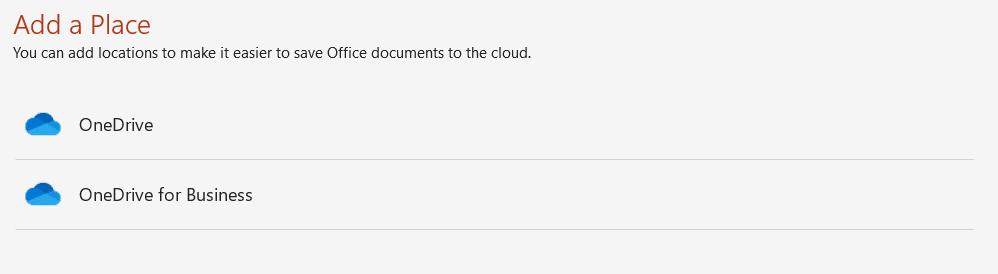
Choose a New Location:
This brings up the Add a Place options on the right. You can choose to add OneDrive for Business, OneDrive, or other services like Box, Dropbox, Egnyte, and more.
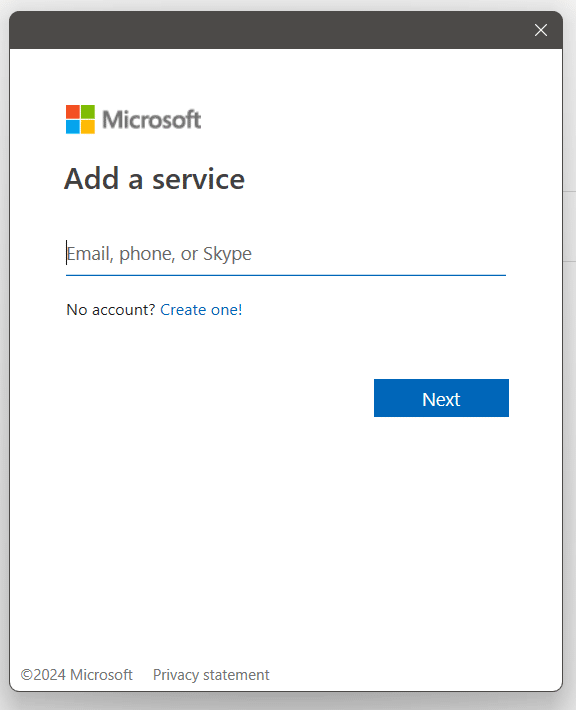
Add a Service:
If you choose OneDrive, you will see the Add a service dialog box, as shown below. Enter your email address, highlighted in red, and click the Next button.
Enter Your Password:
On the next screen, enter your password, and click the Next button.
Verify the New Location:
Your new OneDrive account will now appear within the Open and Save tabs of Backstage view. You can see the new place in the Open tab.
Additional Tips for Managing File Locations in PowerPoint:
Organize Your File Locations:
Regularly review and organize your file locations to ensure you can quickly find what you need. Removing outdated or unused locations can keep your options streamlined.
Use Descriptive Names:
When adding places, especially multiple accounts of the same service, use descriptive names to differentiate between them. This helps in quickly identifying the correct location.
Backup Important Files:
Always backup important files to multiple locations. Utilize different services to ensure your data is safe and accessible even if one service is temporarily unavailable.
Access Files Offline:
Some services allow offline access to files. Configure offline access for critical documents so you can work without an internet connection.
Regular Syncing:
Ensure that your files are regularly synced between your computer and cloud services. This prevents data loss and keeps your files up-to-date across all devices.
Conclusion
Adding new file locations in PowerPoint 365 for Windows can significantly enhance your file management and accessibility. By following the steps outlined above, you can easily add places such as OneDrive for Business, Box, Dropbox, and more. I hope this article was easy enough to follow. Happy presenting!
Related Articles
-
 January 6th, 2023
Stop Creating Text Heavy and Bullet Filled Slides Now!
Blog Post -
 December 29th, 2022
How to Make Your Presentations More Interesting
Blog Post -
 September 29th, 2025
Design Presentations That Work in Dark Rooms and High-Contrast Settings
Blog Post