How to Add a Countdown Timer in PowerPoint

If you’re finding it hard to keep track of time during a presentation, one of the many things you can do is to add a countdown timer in PowerPoint. Adding a timer can also have other uses, as we’ll see later on in this article. So without further waiting, let’s take a look at some common uses of adding a timer in your PowerPoint presentations.
Adding a Timer to PowerPoint – Common Uses
A timer in your presentation, helps both you and your audience know how much time has passed. This helps you keep track of time while delivering a presentation. It can also be great for audience interaction sessions, breaks, and more.
Timers are super useful when your presentation has a time limit that you need to keep an eye on. Having a timer on screen can significantly reduce the stress and anxiety you might go through constantly thinking about the time. Timers can also be useful, for example, when you’re conducting an interactive QnA session. A timer will let your audience know how much time they have to answer your questions.
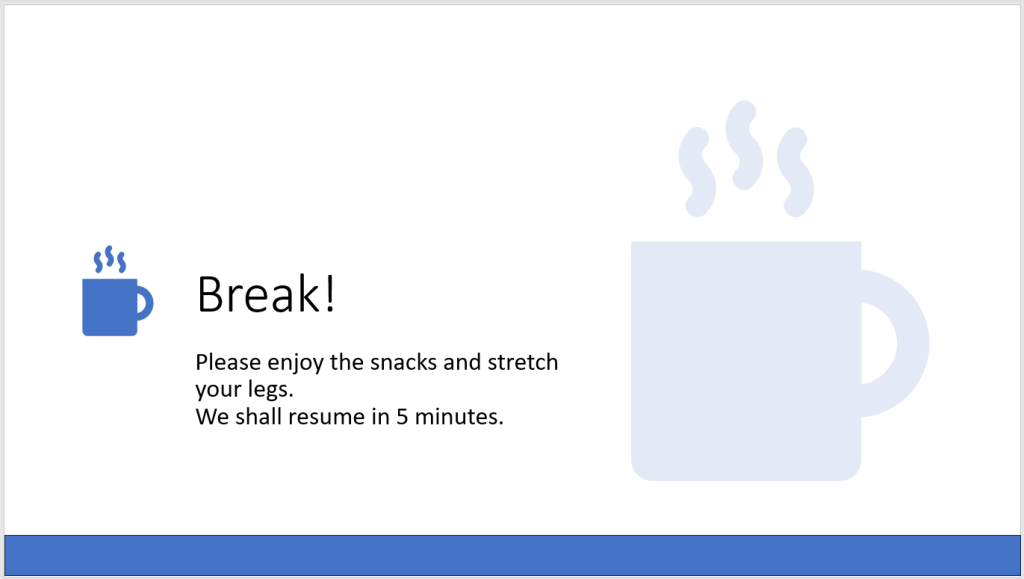
If you’re planning on giving your audience a short break in the middle of your presentation, having a slide with just a countdown timer running is great. It lets your audience know how much time they have to take a break, before coming back to watch the rest of your presentation.
So, here are a few ways you can add timers to your PowerPoint presentation.
PowerPoint Add-ins
There are many PowerPoint plugins, or add-ins as they’re officially called, that you can use to add a timer to your presentations. This is perhaps the easiest way to add a countdown timer to a presentation.
To explore add-ins, go to the Home tab, and click on Add-ins.

This will open up Microsoft’s add-in store. Search for “timer” and you’ll be presented with many options. Try some of them out, and you’ll end up with a neat timer on your presentation in no time.

Some may not prefer having add-ins, because they do not allow customizations. Timers from such add-ins usually cannot be altered much, so if you want a little bit more freedom than that, or if you’re looking to add your creative twist, keep reading.
Simplest Design for A PowerPoint Timer
Here’s the simplest way you can add a timer on your slide. First, select the slide that you want the timer to appear on. Then go to Insert tab, and select Shapes. Select any square shape and draw a long bar on any side of your slide.
Here’s what that would look like:

The next step is to animate it.
Select the bar, and go to the Animations tab, and select Fly Out from the Exit animations.

To the right, click on Effect Options and select the direction you want the animation to happen. If your bar appears on the bottom of your slide like mine does, then select To Right.

Now go to Duration, and write down the duration of the timer that you need. Please note that as of now, the maximum time you can set is just 59 seconds.

To extend your animation beyond 59 seconds, click on Animation Pane.

And double click the animation.

Now when a window appears, go to Timing, and change the Duration value to the time you need (in seconds).

And that’s it, your bar will slowly appear like a loading bar, and it will act as a visual guide of how much time has elapsed while you’re on the slide. Remember that if you have other elements in your slide, make sure that the timer animation happens first. Or you can also set it to start on cue. To do that, just above Duration, select Start, and select On Click.

That’s it really. Now that you know the basic principle of creating your own visual timer in PowerPoint, you can be creative and try other ideas as well. The basic idea is to:
- Draw a shape.
- Add an animation.
- Set duration to the animation.
And that’s basically it. Do try it out with different shapes (maybe a circle with a wheel animation) as well. Good luck on your presentation!


