How to Create a Certificate in PowerPoint

This is a step-by-step tutorial that helps you create a certificate slide template in PowerPoint easily. These articles are a part of our PowerPoint for Pros series, that is created for the intention of helping thousands of readers like yourself, become better at PowerPoint.
Here’s a tutorial video if you’re interested. More videos like this on our YouTube channel:
Or if you prefer reading an article, let’s move on to the rest of the blog post. Lets learn how to design a certificate slide template in PowerPoint.
To start, set the slide background color by right-clicking on the slide, selecting Format Background, and choosing a color that complements your certificate style. Once that’s done, let’s add some design elements to give it a classic certificate look.
Create a Border Pattern for the PPT Certificate Template
Go to Insert > Shapes, select Diagonal Stripe, and draw it on the corner of the slide.
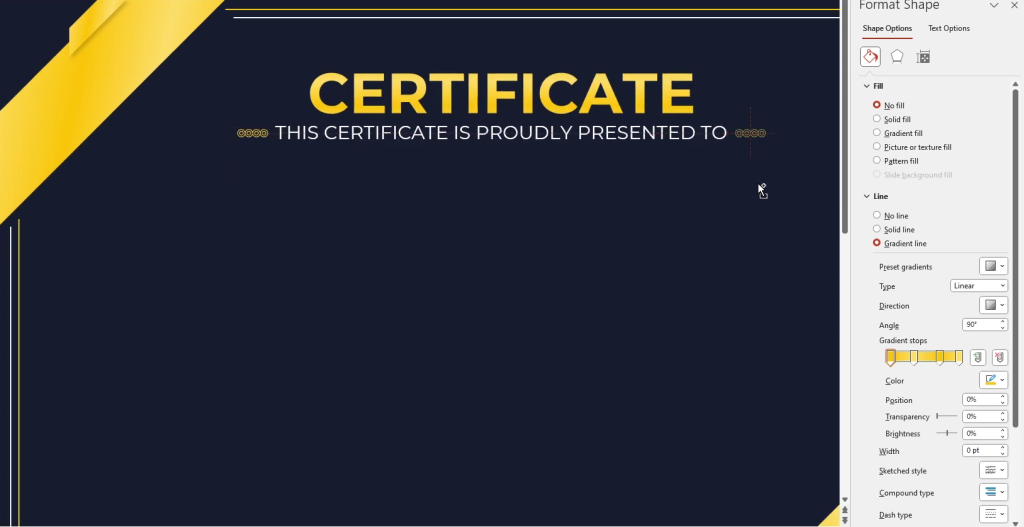
Under Format Shape, choose Gradient Fill and adjust the colors to your preference. Remove the outline by selecting No Line.

Duplicate this shape by holding Ctrl and dragging it, resizing and positioning it as needed.

Apply a shadow effect under Format Shape for a professional touch.

Once you’re satisfied with the position and size, select both shapes and press Ctrl + G to group them.
Duplicate and Arrange Shapes for your Certificate:
With the grouped shape, hold Ctrl, click, and drag to duplicate it, then rotate 180° and place it on the opposite side of the slide to mirror the design.

Add Certificate Border Lines:
Insert a line, hold Shift while drawing it to keep it straight, then set the color and adjust the thickness in Format Shape.
Duplicate this line, rotate it to create a perpendicular line, and adjust the weight and color.

Group these lines, duplicate the group, and place the duplicates on the other side of the slide for symmetry.

Add Certificate Text:
Go to Insert > Text Box and click on the slide to type your certificate’s main text. Choose a readable, elegant font, center-align it, and make it bold.
For added style, apply a gradient fill to the text under Format Shape > Text Options.

Add Decorative Shapes:
Insert a hollow circle shape, set the line color to match your gradient style, and duplicate it to create a border around your text.
Group and position these circles symmetrically for balance.

Add the Recipient’s Name:
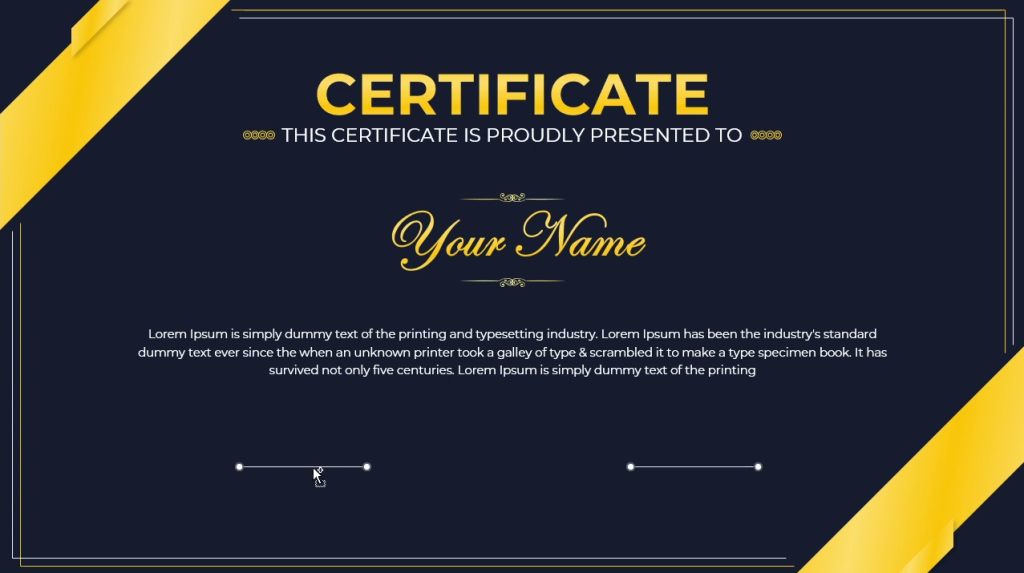
Use a calligraphy-style font like Edwardian Script ITC for the recipient’s name. Increase the font size, center it, and apply a gradient to the text for a refined look.

Add Signature Lines:
Draw lines at the bottom for signatures. Adjust the line width and color, then duplicate and place a line on each side.

Group the signature lines and center-align them for uniformity.
Final Touches for your certificate PowerPoint template:
Add any additional text, such as titles or dates, in complementary fonts and colors. Once your design is complete, save the certificate as a PDF by selecting Microsoft Print to PDF under the print options.
That’s it! You now have a beautifully crafted certificate in PowerPoint. For more PowerPoint tips and tricks, subscribe to our YouTube channel and check out the SlideBazaar PowerPoint add-in (linked in the description) for templates, themes, and more design tools.


